How to Move Fragile Items Without Professional Packers
The Delicate Dance of Departure: Mastering Your Fragile Move Without Professional Help
There's an undeniable thrill that hums in the air when a new journey beckons. Whether it's the anticipation of a sun-drenched beach vacation or the profound excitement of starting a new life chapter in a different city, the call of the unknown is exhilarating. But amidst the dreams of new horizons and uncharted territories, lies a very practical reality: the move itself. And perhaps no aspect of relocation causes more trepidation than the thought of transporting your cherished, fragile possessions. The priceless vase from your grandmother, the carefully curated art collection, the delicate stemware that's seen countless celebrations – how do you ensure they arrive in one piece without breaking the bank on professional packers? Fear not, intrepid adventurer! As your trusted guide, I'm here to assure you that with the right knowledge, materials, and a dollop of patience, you can master the art of moving your fragile items yourself, transforming a daunting task into an empowering part of your relocation story.
The DIY Fragile Move: Your Blueprint for Success
Taking on the packing of fragile items yourself isn't just about saving money; it's about investing personal care into the things that hold meaning for you. It's a chance to reconnect with your belongings, declutter, and ensure they're handled with the respect they deserve. This blueprint will guide you every step of the way.
Phase 1: Gathering Your Arsenal of Protection
Before a single item is wrapped, you need the right tools. Think of this as preparing for an expedition – you wouldn't set off without the right gear!
- Sturdy Boxes: Opt for new, double-walled corrugated boxes for maximum protection, especially for heavier or more valuable fragile items. Various sizes are key: dish packs/cell kits for kitchenware, mirror boxes for artwork, and standard boxes for other items.
- Packing Paper: Invest in a large quantity of unprinted newsprint. It's versatile, inexpensive, and won't stain your items. You'll need more than you think!
- Bubble Wrap: Essential for extra cushioning. Varying sizes of bubbles (small for delicate items, large for larger surfaces) are ideal.
- Packing Tape: Heavy-duty packing tape (2-3 inches wide) is a must. Don't skimp on quality here; you want strong seals.
- Markers: Thick, permanent markers to clearly label boxes as "FRAGILE," "THIS SIDE UP," and the room destination.
- Scissors/Box Cutter: For cutting tape and packing materials.
- Foam Sheets/Peanuts: For filling voids and providing extra shock absorption.
- Towels/Blankets: Soft textiles can act as excellent impromptu padding for larger items or in the bottom/top of boxes.
- Dish Packs/Cell Kits: These cardboard inserts create individual compartments for glasses and plates, offering superior protection.
Phase 2: Mastering the Art of Wrapping and Boxing
This is where precision and patience come into play. Treat each item as if it's the most precious thing you own.
Kitchenware: Plates, Glasses & Bowls
- Plates & Flat Dishes:
- Lay out a stack of 4-5 sheets of packing paper. Place a plate in the corner.
- Fold the corner of the paper over the plate, then roll the plate diagonally across the paper, tucking in edges as you go.
- Wrap each plate individually. For added protection, bundle 2-3 wrapped plates together with bubble wrap.
- Pack plates vertically (like records) in sturdy boxes or dish packs, not flat. This distributes weight better and reduces pressure.
- Cushion the bottom of the box with crumpled paper or bubble wrap (2-3 inches). Fill all voids with more paper.
- Glasses & Stemware:
- Stuff the inside of each glass with crumpled packing paper.
- Place the glass on a stack of 2-3 sheets of paper and roll it diagonally.
- For stemware, pay extra attention to the stem and base, wrapping them more securely with extra paper or a small piece of bubble wrap.
- Use cell kits for glasses, placing heavier, sturdier glasses in the bottom cells and lighter, more delicate ones on top.
- If not using cell kits, create layers with cardboard dividers and ensure generous padding between each glass.
- Bowls & Mugs:
- Stuff with paper, then wrap individually. Bowls can often be nested if well-padded between each with bubble wrap or paper.
- Pack upright or on their side, never upside down on their rim.
Artwork, Mirrors & Picture Frames
These flat, often large items require specialized attention.
- The "X" Factor: For items with glass, place two strips of painter's tape across the glass in an "X" pattern. If the glass breaks, this helps keep shards together and protects the artwork.
- Corner Protection: Use foam corner protectors (available online or at moving supply stores) or create your own with folded cardboard.
- Bubble Wrap: Wrap the entire piece generously with bubble wrap (at least 2-3 layers), securing with tape.
- Mirror Boxes: These telescoping boxes are designed to fit various sizes of artwork and mirrors. They provide rigid protection on all sides. For smaller pieces, you might double-box them (a smaller box inside a larger, padded box).
- Labeling: Crucially, mark "FRAGILE," "GLASS," and "THIS SIDE UP" very clearly on all sides.
Electronics & Gadgets
Modern electronics are often robust, but their screens and delicate components need care.
- Original Boxes: If you still have them, use the original boxes! They are custom-fitted with the best protective inserts.
- Cables & Accessories: Disconnect all cables, bundle them neatly, and label them or place them in a labeled baggie with the corresponding device. Take photos of your setup before unplugging.
- Static Protection: For delicate internal components (like hard drives or circuit boards), use anti-static bubble wrap or bags.
- Padding: Wrap devices in bubble wrap or foam sheets. Fill box voids with packing peanuts or crumpled paper. Ensure no movement within the box.
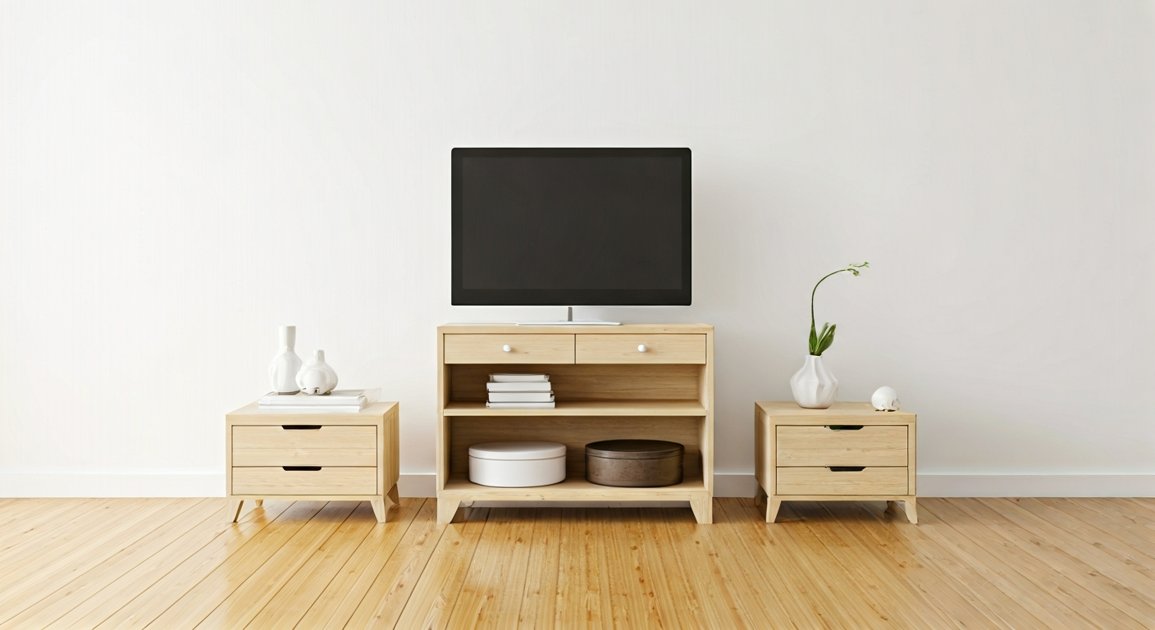
- Screens: For TVs and monitors, use specialized TV boxes with foam inserts. If unavailable, use heavy blankets/quilts for padding, along with copious bubble wrap, and ensure the screen faces a soft surface or another padded item in the moving truck.
Heirlooms, Collectibles & Sentimental Treasures
These are the items you absolutely cannot replace.
- Double-Boxing: For extremely fragile or valuable items, wrap them thoroughly (paper, then bubble wrap), place them in a small, sturdy box, and then place that small box inside a larger, well-padded box. Fill the space between the two boxes with peanuts or crumpled paper.
- Personal Transport: If possible, consider transporting particularly irreplaceable or valuable items in your personal vehicle. This gives you direct control and peace of mind.
- Documentation: Take photos of these items before packing. It serves as an inventory and proof of condition, which is helpful for insurance purposes or simply for your own peace of mind.
Phase 3: Loading and Transporting with Care
Proper packing is only half the battle; how you load your fragile items makes all the difference.
- Strategize Your Load: Place heavy, sturdy items at the bottom and front of the moving truck. Fragile boxes should *always* go on top of other boxes, never underneath where they can be crushed.
- No Overpacking or Underpacking:
- Overpacking: Boxes become too heavy to lift safely and are more prone to breaking if dropped.
- Underpacking: Too much empty space allows items to shift, increasing the risk of breakage. Fill all voids with packing paper or foam peanuts.
- Designated "Fragile" Area: Create a dedicated section in your moving vehicle for all "FRAGILE" labeled boxes. This helps you monitor them and ensures others assisting with the move are aware.
- Secure the Load: Use moving straps or ropes to secure your belongings in the truck. Prevent shifting during transit, which is a major cause of damage.
- Drive Carefully: When transporting highly fragile items, drive slower, avoid sudden stops or turns, and take smoother routes if possible. Your precious cargo is counting on your steady hand.
Phase 4: Unpacking and Settling In
The journey isn't over until everything is safely in its new home.
- First In, First Out (or Last In, First Out): Fragile boxes should be among the first to be unloaded and ideally placed in a clear, safe space in their respective rooms. This allows you to inspect and unpack them without other items getting in the way.
- Inspect Immediately: As you unpack, gently check each fragile item for any damage. Document anything suspicious with photos.
- Recycle & Reuse: Save packing paper and bubble wrap for future moves or other uses.
- Enjoy Your New Space: Once your delicate items are safely placed, take a moment to appreciate your accomplishment and the successful transfer of your cherished belongings.
Final Thoughts: Your Journey, Unbroken
Moving, like life itself, is a journey filled with details, challenges, and immense rewards. Tackling the packing of your fragile items without professional help isn't just a logistical task; it's an act of care, a demonstration of your resourcefulness, and a significant step in making your new place feel like home. By approaching it with a plan, the right materials, and a bit of patience, you'll not only save money but also gain an immense sense of satisfaction knowing that you personally ensured the safe passage of your most beloved possessions. So, pack wisely, travel safely, and step into your new adventure with confidence, knowing that your precious memories and treasures have arrived, ready to create new stories in your inspiring new chapter. The world awaits, and your belongings are ready to explore it with you!